
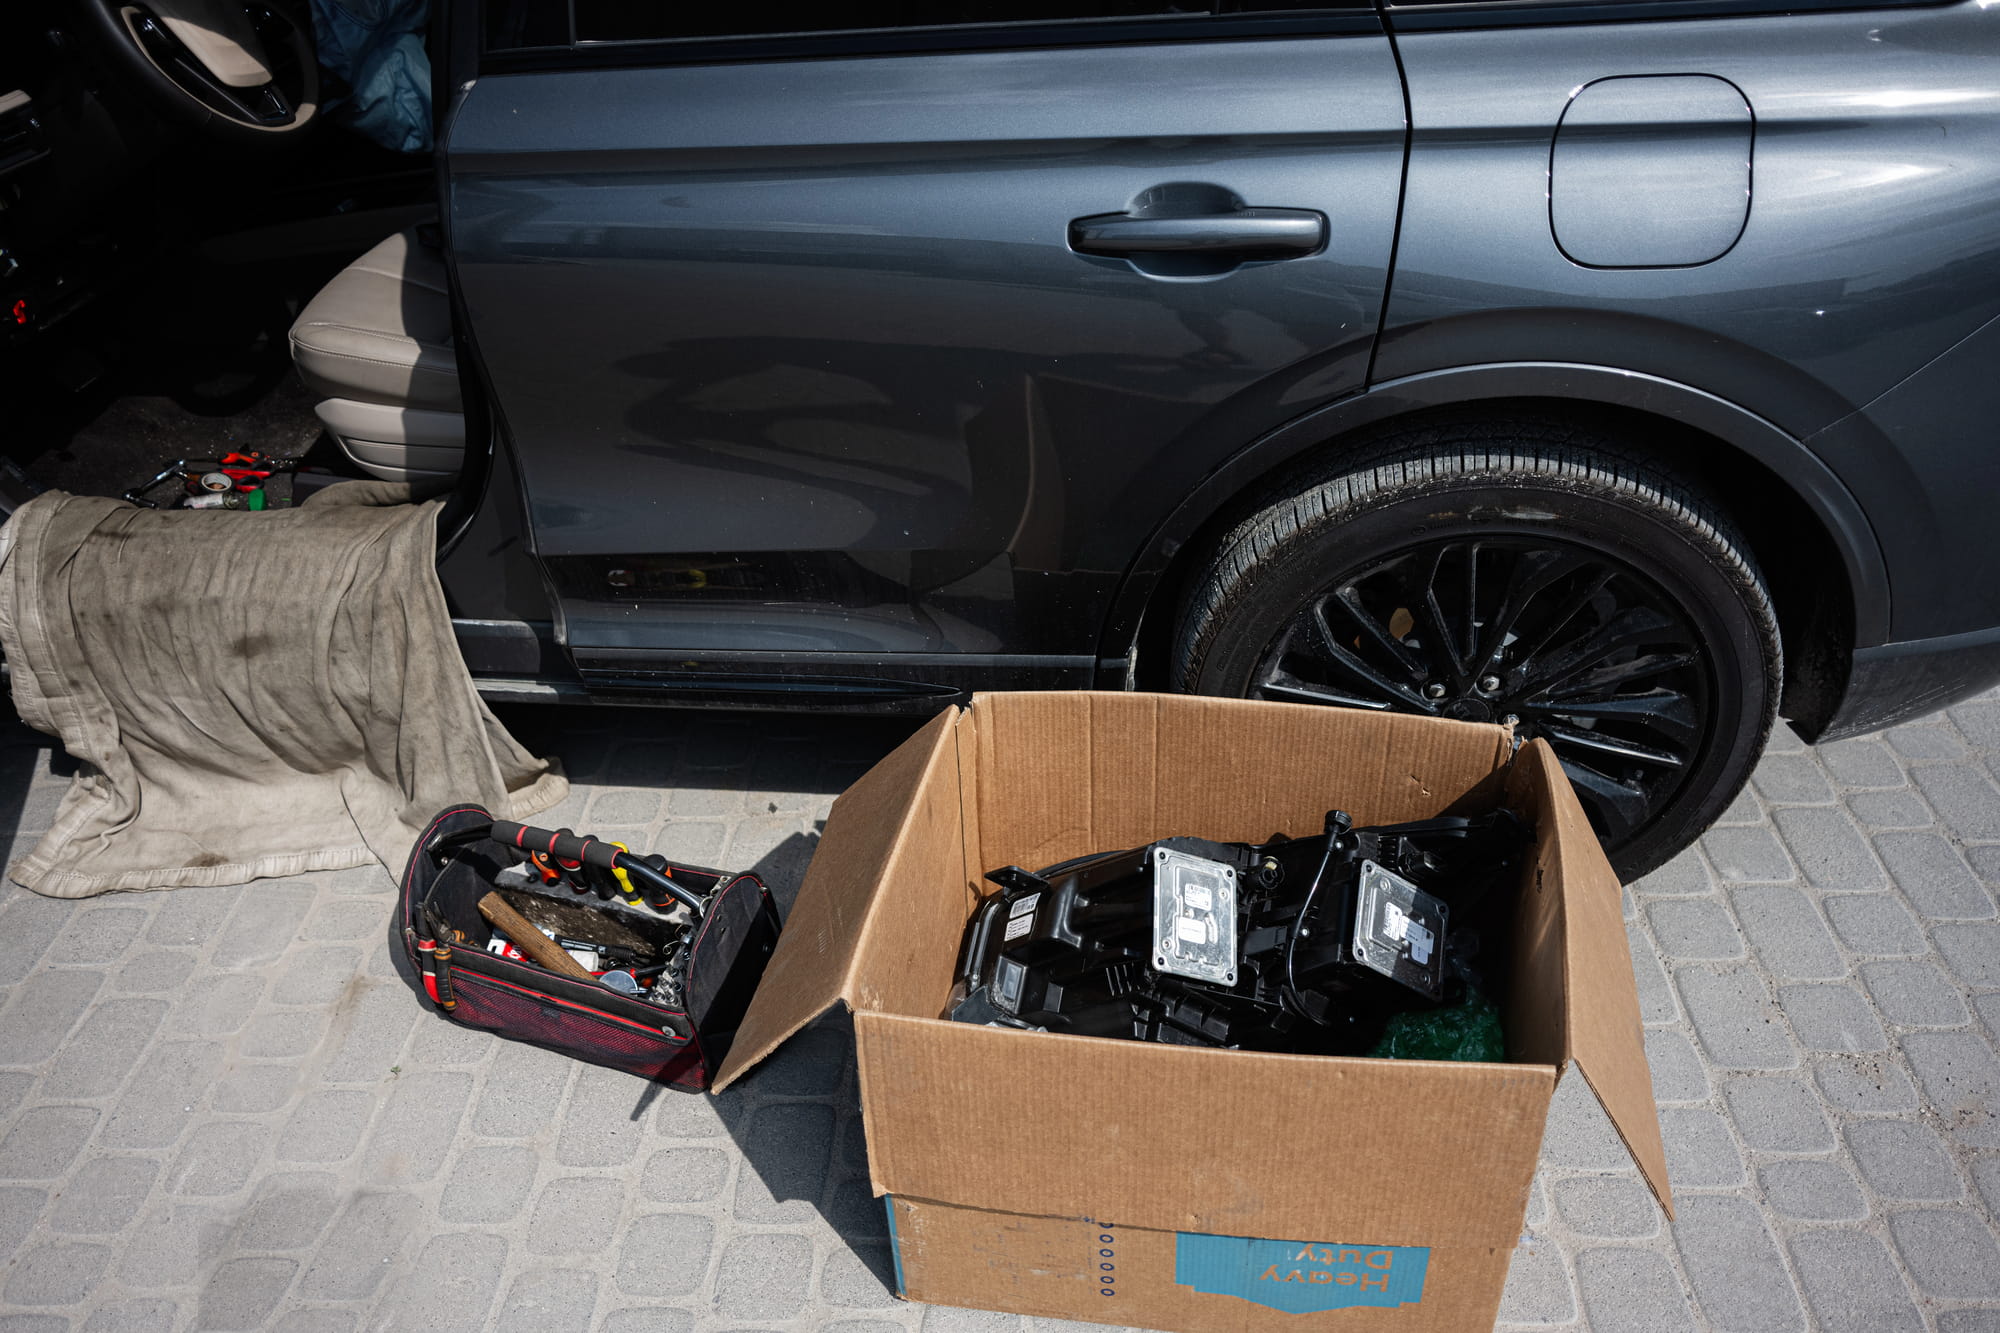
Affordable Tips that Could Save You Money, Improve Your Skills, and Keep Your Car Running Smoothly
Any car repair is always scary, especially since the slightest issue could mean thousands of dollars of damage and an enormous repair bill. However, this does not have to be the case. Sometimes all you need is a quick repair that could easily be performed by you. The best thing about such car repairs is that you could save a significant amount of money.
If you have been looking for tips and ideas that would help you to learn some basic car repair skills, you have come to the right place. Below are the 10 most valuable car repairs that even a beginner mechanic should know.
First Things First: Safety Tips to Remember When Working on Cars
When dealing with car repairs, you should always think about your personal safety. The first thing to consider is where you are going to park your vehicle. It should always be on a level surface, ideally with wheel chocks to hold your car. Do not forget to use gloves and protective eyewear while performing any kind of repair. Finally, never put yourself in danger by working under a lifted car.
With those things said, let us take a look at the top ten amazing car repairs.
Reasons Why You Should Learn Some Basic Car Repairs
It goes without saying that the main reason to learn basic car repair skills is to save some money. In addition to that, there are numerous reasons why a car mechanic should know at least some basic car repairs. Here are some of the benefits you would get if you decide to do it yourself:
- Reduce labor costs
- Detect issues early
- Prevent unnecessary repairs
- Build your confidence as a mechanic
- Take care of minor roadside issues
- Maintain safe operation of your vehicle
However, one must admit that not all repairs are suited for beginners. Thus, you should always understand what car repairs you could actually do yourself. Otherwise, it is always better to hire a mechanic.
Tools Required for Basic DIY Car Repairs
There is no need to purchase a costly toolbox if you are just starting to learn car repairs. The good news is that there is a set of essential tools that would allow you to tackle almost any issue. Here are the most valuable items you should definitely have:
- Socket set
- Screwdrivers
- Wrenches
- Pliers
- Jack stand and jack
- Tire pressure gauge
- Multimeter
- OBD2 scanner
- Work gloves
- Protective eyewear
- Flashlight
- Funnel
- Drain pan
- Other tools
Of course, depending on the repairs you plan to perform, you would need additional tools. For example, you might want to have a torque wrench for spark plugs.
In addition to that, there is another option. Auto parts stores often provide loans for basic tools, allowing you to try out various tools before you purchase them permanently.
Replace Worn-Out Windshield Wipers
Simple But Effective Car Maintenance Tip
Windshield wipers are always taken for granted. Most people realize that they need replacements when their windshield starts to blur when raining heavily or snowing. If your wipers are worn out, your driving could become very difficult. However, the good thing is that this repair is very easy to perform. You might want to check the list below to determine if you need to buy replacements.
Signs That It is Time to Get New Windshield Wipers
Here are some common symptoms of worn-out wipers:
- Streaking during wiper usage
- Cracks on the blade itself
- Chattering while driving
- Poor cleaning results
- Squeaking noises
- Steps Required to Replace Wipers
Usually, replacement of windshield wipers involves the following steps:
- Raise the wiper arm up slightly.
- Pull the release tab to unlock the blade from its holder.
- Remove the old blade from the holder.
- Insert a new blade to its place until it snaps into place.
Then you need to test the wipers. Apply some washer fluid to clean the windshield and ensure proper installation.
Why This Repair Could Be Beneficial for You
Replacing your wipers is always beneficial since this repair is not too costly and saves your time and effort. In addition to that, it is very easy.
Replace Engine Air Filter
Ensure Efficient Functioning of Your Engine
An engine air filter is a critical part that ensures efficient function of your engine since it allows clean air to pass through it and prevents impurities from reaching your engine. Once it becomes too dirty, your engine could start to malfunction.
Replacing your air filter is a very easy and affordable process. Let us take a look at the common symptoms to know if your filter is clogged.
Symptoms that Your Air Filter Needs Replacement
Here are some signs that you should change your filter:
- Poor acceleration
- Decreased fuel economy
- Dirt or dark filter media
- Engine stumbles and hesitations
- Abnormal sounds while accelerating
- How to Change an Engine Air Filter
Here are the basic steps required to replace this component:
Locate your engine air filter.
Open the cover and remove the old filter.
Install a new filter with its arrows aligned correctly.
Remember that this repair requires only basic skills, and it is affordable.
Replace Cabin Air Filter
Cleaner Air in the Cab!
Another important filter that deserves attention is your cabin air filter. This filter provides cleaner air to you by filtering all dust, pollen, and other particles from the outside air. This filter is particularly important if you suffer from seasonal allergy.
Common Symptoms of Clogged Cabin Air Filter
The most common signs of clogging are listed below:
- Musty smell from ventilation
- Insufficient airflow from ventilation ports
- Noisy ventilation operation
- Reduced defroster performance
Now that you know how to identify the need for a replacement, it is high time to learn the procedure itself.
Steps Required to Replace a Cabin Air Filter
To perform the process, follow the instructions below:
- Access the cabin air filter compartment (usually located behind the glove box).
- Release the damper arm or side tabs.
- Open your compartment.
- Remove the old filter.
- Install a new filter with its arrows directed in the right way.
As you can see, this repair could not be easier.
Why This Fix Could Help You
As a rule, this repair is very effective and quite easy to perform.
Replace Spark Plugs
Better Engine Performance and Starting
Another essential part of your engine is spark plugs. They ensure efficient engine operation by igniting the air-fuel mixture inside your engine cylinders. As you understand, worn-out spark plugs could cause numerous issues.
Symptoms that Spark Plugs Require Replacement
The most common signs that you have worn-out spark plugs include:
- Engine stumbles or hesitation
- Difficulty starting
- Poor fuel efficiency
- Misfiring
- Rough idle
- Other possible problems: overheating and check engine light
- Tools You Might Need for This Task
In most cases, this repair requires the following:
- Spark plug socket
- Torque wrench
- Extension bar
- Ratchet
- Gap measuring tool
How to Replace Spark Plugs Safely?
Before starting, you must ensure that the engine has cooled down. Also, make sure that you know the ignition order of your vehicle. Next, start removing one spark plug wire at a time and replace old spark plugs one by one. Use a torque wrench to ensure appropriate tightness.
Remember that you should never over tighten your spark plugs. Otherwise, you would damage the cylinder head threads and create additional issues.
Why This Repair Is So Valuable?
Replacing spark plugs could significantly improve engine performance and starting.
Replace Engine Oil and Oil Filter
One of the Oldest Tricks in the Book
Replacing oil in your engine is another classic repair that everyone should know. Engine oil lubricates and cools various parts inside your engine, helping your engine run smoothly and efficiently. By replacing the oil on time, you prolong your engine lifespan.
How Can I Tell If It Is Time to Change My Oil?
Here are some common signs:
- Oil change alert in your infotainment system
- Dark oil
- Odd noises while driving
- Time interval specified in your owner’s manual expired
- Low oil level
Now that you have determined that you need to change your oil, let us find out what you will need to complete this task successfully.
List of Required Items
Here are some materials you should prepare before starting the process:
- Proper oil and its volume
- Oil filter
- New oil filter
- Drain pan
- Socket set
- Funnel
- Wrenches
- What Steps Should You Take?
To replace the oil and filter, follow the steps below:
- Briefly warm up your engine and turn it off.
- Allow it to cool down for a few minutes.
- Jack up your vehicle.
- Place the drain pan under the drain plug.
- Drain the old oil completely.
- Replace your oil filter and plug.
- Refill your engine with new oil.
Remember that after completing this task, you would need to check for leaks and oil level.
Why This Fix Provides Future Cost Savings
Oil changes are routine tasks, which means you can perform them yourself over the life of your car and save money in the long run. Another benefit is the ability to check for potential leaks, worn belts, and other problems.
Install a Fresh Battery if You Have a Bad One
Prevent Being Trapped in an Awkward Situation
Weak batteries cause inconvenience during otherwise regular days. If your vehicle cranks poorly, clicks before turning over, has dim lights before starting, or exhibits another symptom, there is a possibility that the battery is going bad.
Battery replacement is quite a straightforward task as long as it is done with care.
Signs That Indicate It Might Be Time for New Batteries
Look for:
- Slow engine cranking
- Clicking noise when starting
- Dim headlamps
- Activation of a warning light
- Battery terminals corrosion
- Strange behavior of electrical appliances
- How to Change Your Car Battery
Ensure that your vehicle is turned off and the key removed from the ignition. Then, disconnect the negative terminal, followed by the positive terminal. Remove the hold-down bracket, carefully remove the battery, clean corroded terminals, if any.
Install the battery, put the hold-down bracket back, and connect the positive terminal first.
Safety Precautions
Remember that car batteries are quite heavy and corrosive, so you should wear gloves and protective glasses. Also, avoid touching both terminals at once since short circuits are extremely dangerous. Lastly, make sure that the replacement battery fits well and complies with your particular requirements.
Why This Fix Makes You More Independent
Changing the battery is one of the most practical DIY skills as you can avoid unnecessary towing costs, service expenses, and additional fees from a shop.
Repair Small Paint Scratches
Prevent Minor Cosmetic Issues From Turning Into Rusting
Scratches are never good news, and a tiny hole exposes metal surfaces to oxygen that leads to corrosion. The longer you wait to fix the issue, the harder and costlier it is to deal with. This DIY repair protects your car’s integrity and preserves its beauty.
Patience is crucial in performing this job.
Types of Scratches You Can DIY Easily
You can fix:
- Clear coat scratches
- Minor paint scratches
- Scuffs
- Small areas exposed to oxidation before rust occurs
Major dents or corrosion spots should be left for professionals.
How to Repair Paint Scratches
First, wash and dry the affected area. Rub compound or scratch remover to eliminate surface scratches. Next, you might need to paint the scratched area. Make sure that touch-up paint is compatible with your vehicle by checking the paint code.
Apply the product layer by layer. Let each coat dry thoroughly. Apply a clear coat, if needed. Finally, polish the surface gently.
Why This Fix Helps
The cost of this job is quite low, however, it saves you from rust and makes your vehicle look tidy. This DIY repair is excellent for beginners who want to start repairing their cars themselves.
Change Brake Pads
An Advanced Fix for Self-Assured Mechanics
As one of the most vital vehicle components, the brake pad slows and stops the vehicle through friction. Worn brake pads increase your stopping distance and contribute to deterioration of other components.
This repair demands more effort than replacing filters or windscreen wipers. It is recommended to approach the task with adequate preparation and safety measures.
Symptoms of Worn Brake Pads
Pay attention to:
- Screeching
- Griming
- Vibrations during braking
- Increased stopping distance
- Warning indicator activation
- Excessive wear
- Pulling to one side when applying brakes
- Required Tools
You might need: a car jack, jack stands, a lug wrench, socket set, brake cleaner, a C-clamp, or a brake piston tool, brake pads, brake hardware.
Basic Guide to Changing Brake Pads
After loosening lug nuts, raise the vehicle on jack stands safely and remove the wheel. Then, unscrew bolts holding the caliper, carefully detach the brake caliper, and remove old pads. Don’t allow the caliper to hang by the brake hose.
Examine the rotor, compress brake caliper pistons, and install new brake pads with required hardware. Next, reattach the caliper and reinstall the wheel. Do everything again for another wheel.
Be sure to pump the brake pedal until it is solid. Check brakes in a safe area.
Seek Assistance
If you notice leakage of brake fluid, broken brake lines, severe rotor wear, unusual wear pattern, or don’t feel comfortable, get professional help.
Why This Fix Makes You a Better Mechanic
Although the cost savings are significant here, what really matters is that you learn more about a critical vehicle system.
Change a Blown Headlight or Tail Light Bulb
Stay Visible and Save Money While Preventing Tickets
Headlights, taillights, turn signals, and brake lamps are critical safety features that improve visibility and inform others about your presence. Therefore, it is necessary to replace blown bulbs to ensure proper operation of lights.
This repair is quick and affordable.
Indicators of Bulb Failure
There are several possible scenarios that indicate that your bulb has stopped working:
- Dim headlight on one side
- Tail or brake lamp doesn’t illuminate
- Bulb blinks too frequently
- Warning light comes on
How to Change a Light Bulb in Your Vehicle
You need to locate and access the light bulb holder behind the front/rear panel. You can remove the entire light assembly, or only the part containing the light. Then, you need to remove the connector, take out an old bulb and insert a new one.
Avoid touching halogen light bulb glass with bare fingers because oils from your skin might cause overheating.
Why This Fix Is Essential
Not only does it improve the safety of your driving but also prevents fines and penalties for malfunctioning lights. It is one of the top beginner DIY repairs due to instant results.
Diagnose Check Engine Light With an OBD2 Scanner
Stop Guessing and Make Smart Decisions
Check engine lights are not scary as they don’t always indicate serious problems. An OBD2 scanner allows reading diagnostic trouble codes from your vehicle’s onboard computer. They might not pinpoint exactly the part causing the failure but still provide useful insight.
Any budget-minded mechanic should consider buying an OBD2 scanner.
OBD2 Code Interpretation Tips
Here, you can find some issues that OBD2 scan might detect:
- Ignition misfire
- O2 sensor
- Malfunctions of emissions-related system
- Fuel mixture too rich/too lean
- Leakage of evaporative emissions system
- Transmission-related codes
- Sensor fault
How to Use an OBD2 Scanner
Look for the OBD2 port usually situated beneath the dash on the driver’s side of your car. Plug the scanner, set ignition switch to the appropriate position, and follow the instruction.
Note all codes displayed on the screen before clearing them. After making the list, search for causes of each of these problems. Look for possible sources on your car’s model forum or manufacturer website.
Why This Scan Is a Game Changer
Instead of guessing what could be the reason, you make smart decisions based on your data. Thus, you waste less money and time and prevent unnecessary stress.
Bonus Budget Tips for DIY Car Repairs
There are several tricks that simplify DIY repair and save you plenty of time.
Take pictures of various components before you dismantle them. This way, it will be easier for you to assemble everything later. Organize all bolts separately or mark them. It also pays off to compare new and old parts and ensure their compatibility.
Don’t try to save on replacement components. Sometimes cheap isn’t equivalent to economical. You need to buy those parts that fit your vehicle and will serve you long enough.
Keeping basic records on services you perform also pays off. Note down the repair performed, mileage, date, and names of spare parts. You will have no difficulties finding all information if needed.
Common Mistakes People Make While Doing DIY Car Repair
Sometimes even simple repair takes much effort and can cause additional problems. A majority of such situations arise from careless work and use of incorrect equipment.
Try to avoid following things while trying to fix your car:
- Working without jack stands underneath the car
- Using wrong type of oil, fluid or replacement component
- Over-tightening bolts
- Disregarding torque requirements
- Forgetting to reconnect sensors/hoses
- Touche headlight glass with bare fingers
- Mixing wires of spark plugs
- Clearing engine codes without determining the reason
- Driving before checking if the problem is solved
- Being a successful DIY mechanic means being meticulous.
When You Should Seek Professional Help
DIY repair is always a good thing. However, sometimes your skills are insufficient, and this kind of work can pose dangers and costs too much. Learn when not to attempt a repair.
DIY tasks you shouldn’t attempt include:
- Repair of airbags
- Transmission rebuilding or replacements
- Engine repairs
- Replacement of brake lines
- Fixing fuel leaks
- Electrical work
- Suspension components replacement
- Fixing hybrid/electric vehicles’ high voltage components
These repairs require specialized knowledge, tools and can be very costly if made improperly. In this case, hiring a professional is a smarter decision.
Final Thoughts: Starting Small Is Key
It is possible to fix almost any problem. All you need is time and some patience. Begin with the easiest tasks including windshield wipers, air filters, cabin filters, light bulb replacement, and battery change.
These fixes give you an idea of your car. They are affordable and let you diagnose any malfunction before it gets out of hand.
At Bens Garage, we provide durable, stylish, and reliable garage doors that enhance your home’s appearance and security. Many satisfied customers rely on Bens Garage for both quality products and reliable installations that stand the test of time.